Delicious Homemade Ice Cream with Dash My Mug Ice Cream Maker
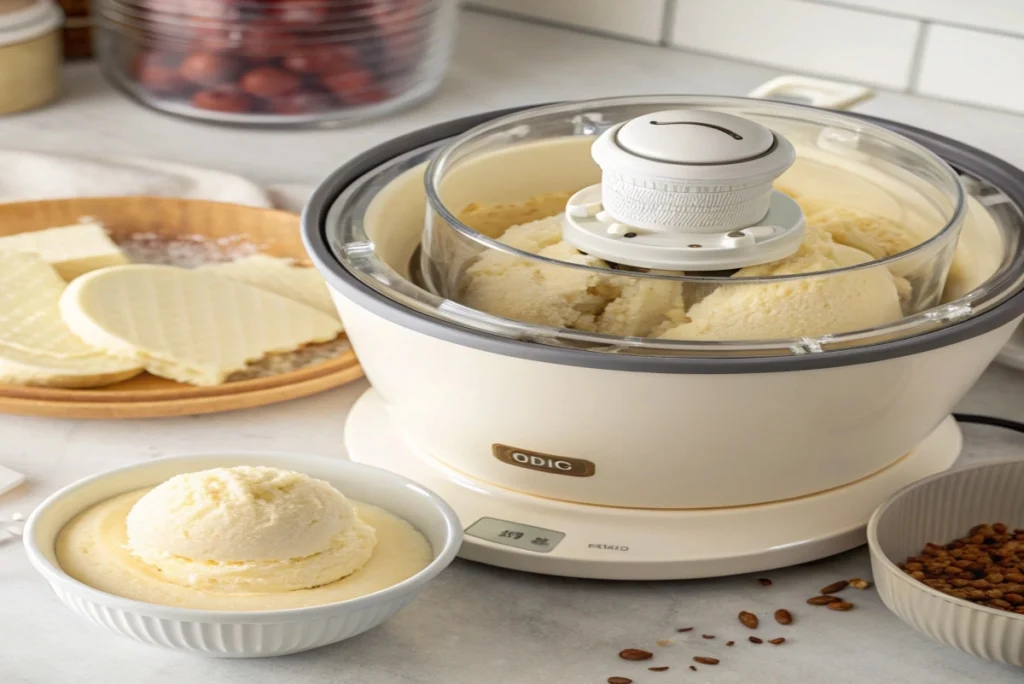
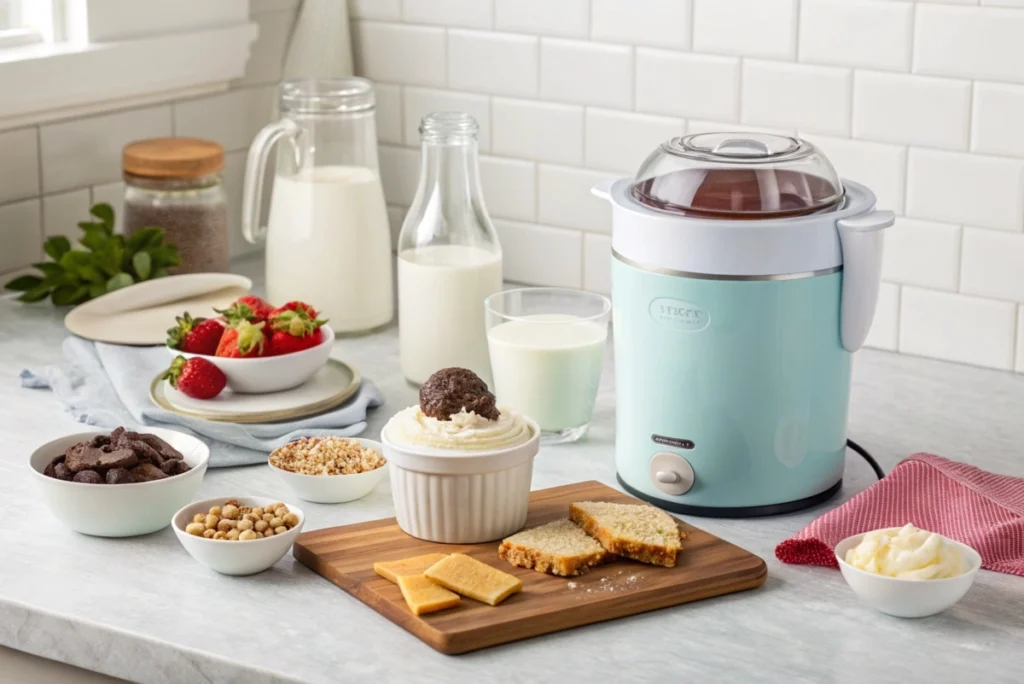
Creating your favorite ice cream flavors at home is easier than you might imagine. With the Dash My Mug Ice Cream Maker, you can churn out creamy, delicious treats in just minutes. This compact, beginner-friendly appliance is perfect for crafting personalized desserts with minimal effort. In this guide, you’ll learn everything from setting up your ice cream maker to mastering recipes that transform simple ingredients into delectable delights.
Table of Contents
Getting Started: How to Use the Dash Ice Cream Maker
The Dash My Mug Ice Cream Maker is designed with convenience in mind, making it accessible for everyone, whether you’re a culinary enthusiast or a dessert newbie. To ensure success, follow these steps for preparation and use:
- Freeze the Cooling Bowl: Place the cooling bowl in your freezer at least 24 hours before you plan to use it. The colder the bowl, the better it will churn the mixture into a creamy consistency.
- Prepare the Ingredients: Mix your desired base using fresh, high-quality ingredients. Whole milk, heavy cream, sugar, and flavorings like vanilla or chocolate are common starting points.
- Assemble the Maker: Pour your mixture into the chilled bowl, attach the paddle, and secure the lid.
- Churn and Chill: Turn on the device and let the paddle churn for 15-20 minutes. Watch as your mixture transforms into smooth, creamy ice cream!
Pro Tip:
Keep your ingredients cold before starting. Warmer mixtures can take longer to set and may result in a softer texture.
For a more detailed breakdown of freezing techniques and dessert-making essentials, check out our Kidney-Friendly Ground Beef Meatloaf Recipe.
What Else Can You Use Your Dash Ice Cream Maker For?
While the Dash My Mug Ice Cream Maker is perfect for traditional ice cream, its versatility extends far beyond that. Consider these creative options to maximize your dessert-making adventures:
- Frozen Yogurt: Blend plain yogurt with fresh fruit and a drizzle of honey for a tangy and healthier alternative to ice cream.
- Dairy-Free Ice Cream: Substitute coconut milk, almond milk, or oat milk for traditional dairy. Add natural sweeteners like maple syrup or agave for flavor.
- Sorbets: Puree fruits such as mango, raspberry, or lemon with simple syrup to create a light, refreshing dessert perfect for hot days.
Additionally, you can experiment with flavors and textures by incorporating mix-ins like crushed cookies, nuts, or swirls of caramel and fudge. The possibilities are endless, allowing you to personalize each batch to your taste.
Simple Recipes for the Dash Ice Cream Maker
Vanilla Ice Cream Recipe
Vanilla ice cream is a timeless classic. This recipe is straightforward, making it an excellent starting point for first-time users of the Dash My Mug Ice Cream Maker.
Ingredients:
| Ingredient | Amount | Notes |
|---|---|---|
| Whole milk | 1 cup | Full-fat for creaminess |
| Heavy cream | ½ cup | Adds richness |
| Sugar | 2 tbsp | Adjust to taste |
| Vanilla extract | 1 tsp | Use pure vanilla |
Instructions:
- Combine the milk, cream, sugar, and vanilla extract in a mixing bowl. Stir until the sugar dissolves completely.
- Pour the mixture into the frozen cooling bowl.
- Attach the lid, turn on the machine, and churn for 15-20 minutes until it reaches your desired consistency.
- Serve immediately for soft-serve texture or freeze for a firmer result.
Mug Strawberry Ice Cream
Strawberry ice cream offers a fruity twist with its natural sweetness and vibrant color. Using fresh strawberries elevates the flavor, making this recipe a crowd-pleaser.
Ingredients:
| Ingredient | Amount | Notes |
|---|---|---|
| Fresh strawberries | 1 cup | Washed and sliced |
| Sugar | 3 tbsp | Adjust sweetness as needed |
| Heavy cream | ½ cup | Adds creaminess |
| Whole milk | ½ cup | Balances the mixture |
Instructions:
- Blend the strawberries and sugar in a food processor until smooth.
- Mix the puree with heavy cream and whole milk in a bowl.
- Pour the mixture into the pre-frozen cooling bowl and churn for 20 minutes.
- Garnish with fresh strawberry slices or chocolate chips before serving.
For even more dessert inspiration, visit our Hershey Chocolate Chip Cookie Recipe.
Tips for Making Delicious Homemade Ice Cream
Key Tips for Success
- Pre-Freeze Thoroughly: Ensure the cooling bowl is completely frozen (minimum 24 hours) to achieve smooth and creamy ice cream.
- Don’t Over-Churn: Stop the churning process as soon as the mixture reaches the desired consistency to avoid ice crystals forming.
- Balance Ingredients: Experiment with the ratios of milk, cream, and sugar to suit your preferences. For a lighter texture, use more milk; for richer results, increase the cream.
Secret Ingredients for Perfection
- Cornstarch: Incorporating a small amount stabilizes the base, reducing the likelihood of iciness.
- Sweetened Condensed Milk: Adds a velvety texture while boosting sweetness naturally.
- Egg Yolks: For custard-based ice creams, these provide a luxurious, creamy consistency.

Common Mistakes to Avoid
- Skipping the Freezing Step: An inadequately frozen bowl will prevent the mixture from setting. Always double-check your freezer settings.
- Adding Mix-Ins Too Early: Fold in extras like chocolate chips, nuts, or fruit chunks during the last few minutes of churning to maintain the ice cream’s structure.
Pro Tips & Variations for Dash Ice Cream Maker Recipes
The Dash My Mug Ice Cream Maker opens up a world of possibilities for dessert enthusiasts. By following these pro tips and experimenting with creative variations, you can elevate your homemade treats to new heights. Whether you’re making traditional ice cream or venturing into sorbets and frozen yogurts, these suggestions will enhance your culinary experience.
Pro Tips for Perfect Ice Cream Every Time
- Optimize Freezing Conditions: Always freeze the cooling bowl in the coldest part of your freezer for a minimum of 24 hours. If possible, pre-chill your ingredients to speed up the churning process and achieve creamier results.
- Layer in Flavors Creatively: To create swirls of caramel, fudge, or fruit puree, add them during the final minutes of churning. This ensures even distribution without overmixing.
- Adjust Sweetness Wisely: Remember that freezing dulls sweetness. Taste your base before churning and slightly oversweeten it to ensure the final product meets your expectations.
- Master the Right Ratio: Use a balanced mix of milk, cream, and sugar for the best texture. For a lighter treat, reduce the cream; for a richer dessert, increase it.
Creative Variations for Endless Fun
- Peanut Butter Chocolate Bliss: Add 2 tablespoons of peanut butter and 1 tablespoon of cocoa powder to your base for a rich, nutty treat. Top with crushed peanuts for added crunch.
- Coconut Lime Sorbet: Blend coconut milk, lime juice, and sugar for a dairy-free tropical delight. Garnish with lime zest for extra flair.
- Berry Cheesecake Ice Cream: Mix cream cheese into your base and fold in crushed graham crackers and a berry compote for a decadent twist.

Serving Ideas for Homemade Ice Cream
The way you serve your ice cream can make a big difference in the overall experience. From simple scoops to elaborate desserts, here are some serving suggestions to inspire you:
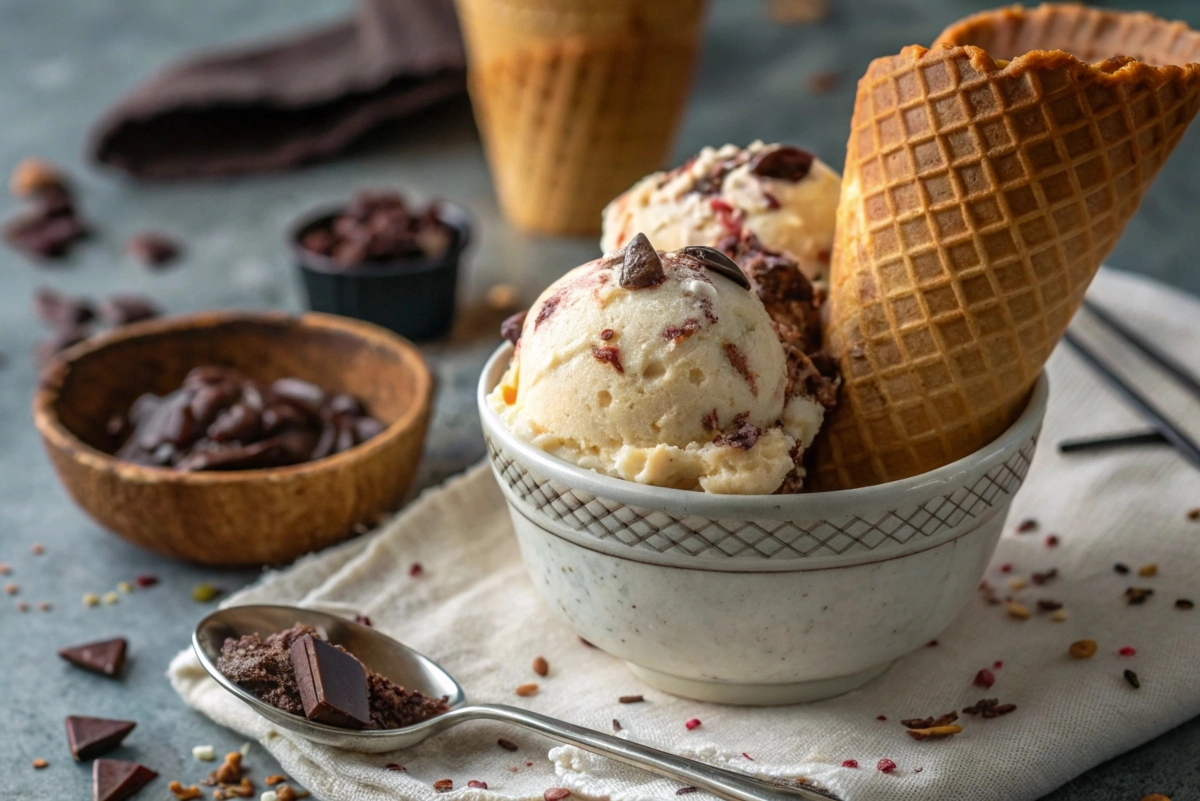
- Classic Scoops: Use an ice cream scoop to create neat, round servings. Serve in colorful waffle cones or ceramic bowls for a timeless look.
- Dessert Parfaits: Layer ice cream with whipped cream, fresh fruits, and crushed cookies in a tall glass. This presentation is ideal for parties and makes each bite more exciting.
- Ice Cream Sandwiches: Use freshly baked cookies or brownies to sandwich your ice cream. Roll the edges in sprinkles or mini chocolate chips for a playful touch.
- Milkshakes: Blend your homemade ice cream with milk and a drizzle of chocolate syrup. Top with whipped cream and a cherry for a diner-style treat.
For more creative dessert ideas, visit our Ultimate Guide to Perfecting Desserts.

Mug Ice Cream Maker
The mug ice cream maker is a compact solution for anyone craving a quick, single-serving dessert. Its design allows you to mix, churn, and serve all in one mug, making cleanup effortless. Additionally, it’s perfect for experimenting with flavors without committing to a large batch.
Features of the Mug Ice Cream Maker
- Easy to Use: Simply add your ingredients into the mug, attach the lid, and churn for 15 minutes.
- Compact and Convenient: The small size makes it ideal for limited kitchen spaces or dorm rooms.
- Versatile Options: It can create soft-serve ice cream, frozen yogurt, or even sorbets.
Pro Tip: Always remove it from the freezer only when you’re ready to begin. This ensures the cooling bowl remains as cold as possible for optimal results.
Ice Cream in the Dash
Making ice cream in the Dash ice cream maker is a straightforward yet rewarding process. The Dash machine simplifies every step, allowing you to create homemade ice cream with minimal effort.
Steps to Make Ice Cream in the Dash
- Freeze the Bowl: The bowl must be frozen for at least 24 hours prior to use.
- Mix Ingredients: Combine your ingredients in a small mixing bowl until smooth. For example, use 1 cup whole milk, sugar, and vanilla extract.
- Pour and Churn: Slowly pour the mixture through the pour hole, attach the mug lid, and press the power button to turn it on.
The resulting ice cream will have a scoopable texture, ready to enjoy as-is or store in a container for a firmer frozen treat.
Cream in the Dash Ice
When crafting cream in the Dash ice cream maker, precision and preparation are key. This versatile machine churns the perfect base for adding creative flavors and textures.
Why Choose Cream in the Dash Ice Maker?
- Consistent Results: Its powerful churning mechanism ensures a solid texture every time.
- Customizable: Add mix-ins like fresh fruits, syrups, or chocolate chips during the final moments of churning.
- Effortless Process: Simply drop pieces of your desired toppings into the mix, and the machine handles the rest.
With its user-friendly design, the Dash ice maker is perfect for both beginners and seasoned dessert lovers.
Dash My Mug
The Dash My Mug ice cream maker has revolutionized small-batch dessert making. This appliance allows users to create personalized treats with minimal effort, making it a favorite among ice cream enthusiasts.
Why Dash My Mug Stands Out
- Quick Preparation: Just pop the mug out of the freezer, pour in the base, and churn for 15 minutes.
- Versatility: From classic vanilla to trendy flavors like matcha or proteindessert, the possibilities are endless.
- Guilt-Free Treats: Use healthier ingredients to create a maker for the ultimate guilt-free indulgence.
For a simple recipe with the Dash, combine 1 cup whole milk, sugar, and flavorings in a large liquid measuring cup and churn for a delightful treat.
Dash My Mug Ice Cream
Creating Dash My Mug ice cream is an enjoyable process that yields professional-quality results. The convenience of this device has made it a must-have for dessert enthusiasts.
Step-by-Step Guide for Dash My Mug Ice Cream
- Prepare Ingredients: Use a simple recipe with the Dash that includes heavy cream, vanilla extract, and sugar.
- Churn to Perfection: Let churn for a moment before adding mix-ins like chocolate chips.
- Serve or Store: Add your favorite toppings, such as crushed nuts or fresh berries, and serve immediately or store in a freezer-safe container.
Don’t forget to add mix-ins like crushed candy or syrups for an extra layer of flavor that tastes amazing.
Churn
The churning process is the heart of ice cream making. The Dash My Mug ice cream maker’s dasher spins efficiently to mix the ingredients, incorporate air, and prevent ice crystals.
For more on the science and history of ice cream making, visit the Ice Cream Wikipedia page.
The Importance of Churning
- Smooth Texture: Proper churning ensures a creamy and consistent base.
- Customizable Results: Adjust the churning time for softer or firmer textures.
- Even Distribution: The dasher spinning allows flavors and mix-ins to be evenly distributed.
To churn successfully, gradually pour the mixture into the cooling bowl and ensure the machine is powered on. A soft-serve ice consistency can be achieved in just 15 minutes.
Chocolate Ice Cream
Chocolate ice cream is a universal favorite, and the Dash My Mug ice cream maker makes it easy to recreate at home. This rich and indulgent dessert requires just a few simple ingredients.
Chocolate Ice Cream Recipe
- Ingredients:
- 1 cup whole milk
- ½ cup heavy cream
- 2 tablespoons cocoa powder
- 2 teaspoons sugar
- Instructions:
- Combine the ingredients in a mixing bowl and stir until smooth.
- Pour the base into the pre-frozen cooling bowl.
- Attach the lid and churn for 15 minutes.
The resulting ice cream can be served immediately or stored in the freezer for a firmer treat.
ByDash
The Dash brand, also known as ByDash, has become synonymous with innovation and simplicity in kitchen appliances. From ice cream makers to blenders, their products are designed to simplify cooking and bring joy to the kitchen.
What Sets ByDash Apart?
- User-Friendly Design: Their appliances, like the Dash My Mug, are easy to use and maintain.
- Innovative Features: ByDash incorporates smart technology and thoughtful designs into every product.
- Community Engagement: Dash’s online community, dashstash, shares creative recipes and tips to inspire users.
For those seeking a homemade ice cream maker, ByDash products provide unmatched quality and versatility.
Incorporating Terms into Recipes
Simple Recipe with the Dash
For a quick treat, try this simple recipe with the Dash ice cream maker:
- Combine 1 cup whole milk, sugar, and vanilla extract in a small mixing bowl.
- Press the power button and let churn for a moment, adding your favorite mix-ins.
- Serve immediately or container and freeze for a firmer texture.
Healthier Options
The Dash ice cream maker is ideal for creating proteintreats or incorporating unique bases like cottagecheeserecipe for a high-protein dessert.
By using high-quality ingredients and innovative techniques, your homemade creations will always be delicious.
FAQs About Dash Ice Cream Maker Recipes
How Do I Use My Dash Ice Cream Maker?
Using the Dash My Mug Ice Cream Maker is straightforward. First, freeze the cooling bowl for at least 24 hours. Then, mix your ice cream base and pour it into the chilled bowl. Turn on the machine and let it churn for 15–20 minutes until the mixture thickens.
What Else Can I Use My Ice Cream Maker For?
In addition to ice cream, the Dash Ice Cream Maker is perfect for creating frozen yogurt, sorbets, gelato, and even dairy-free desserts. For a fun twist, try experimenting with different bases like almond milk, coconut cream, or oat milk.
How Long Should I Mix in the Dash Ice Cream Maker?
Mixing times vary but generally range from 15 to 20 minutes. Watch the consistency closely; stop churning once the mixture reaches a soft-serve texture. For a firmer treat, freeze the ice cream for another hour after churning.
What Is the Secret Ingredient to Ice Cream?
The secret to creamy, luscious ice cream lies in the fat content and stabilizers. Ingredients like heavy cream, egg yolks, or sweetened condensed milk can significantly enhance the texture. Another tip is to add a pinch of salt to balance sweetness and elevate flavors.
Is the Dasher Supposed to Spin in an Ice Cream Maker?
Yes, the dasher (paddle) spins to churn the mixture, incorporating air and preventing ice crystals from forming. This motion is essential for achieving a smooth and creamy result.
How Do You Use an Ice Cream Maker Step by Step?
Freeze the cooling bowl for at least 24 hours.
Prepare your base using milk, cream, sugar, and flavorings.
Pour the mixture into the bowl and attach the lid with the dasher in place.
Turn on the machine and churn for 15–20 minutes.
Serve immediately or freeze for a firmer texture.
For even more dessert-making inspiration, explore our Chocolate Pudding Cake Recipe.
Conclusion
The Dash My Mug Ice Cream Maker is a versatile and user-friendly tool that empowers you to create an array of delightful desserts at home. From classic vanilla ice cream to creative variations like tropical sorbets and rich milkshakes, the possibilities are endless. By following the tips and recipes shared in this article, you can confidently experiment and discover your favorite combinations. Whether you’re hosting a gathering or enjoying a quiet night in, homemade ice cream always brings a touch of joy and indulgence.

