Decadent Happy Birthday Chocolate Cake Recipe: The Ultimate Delight
A birthday celebration is never complete without a cake, and what better way to sweeten the occasion than with a rich, moist, and decadent happy birthday chocolate cake? Chocolate cakes are more than just desserts; they’re a symbol of joy, love, and indulgence. Whether you’re celebrating your child’s big day, hosting a surprise party for a friend, or baking for someone special, this recipe promises a show-stopping centerpiece that’s both visually stunning and irresistibly delicious.
This ultimate guide covers everything from selecting the finest ingredients to mastering the frosting and decoration techniques. By the end of this article, you’ll have the confidence to bake a chocolate cake that will steal the spotlight at any celebration. Let’s dive into the secrets of creating the best chocolate birthday cake!
“Chocolate cake has been a beloved dessert for centuries, with its origins tracing back to the 18th century. Learn more about its fascinating history on Wikipedia.”
Why Chocolate Cake is the Best for Birthdays
Chocolate cakes hold a timeless appeal that few desserts can match. Firstly, they cater to almost every taste bud, offering a rich, comforting flavor that’s hard to resist. Secondly, they’re incredibly versatile—customizable to suit any theme, from a simple elegant design to an elaborate superhero cake for kids.
Additionally, chocolate evokes a sense of luxury and happiness. Studies have shown that the aroma and taste of chocolate can trigger endorphins, making it an ideal choice for joyful occasions. For instance, parents often find that children naturally gravitate toward chocolate cakes at birthday parties, making them the safe yet standout option for any celebration.
Lastly, the sheer variety of textures and flavors that can complement chocolate—think silky ganache, creamy buttercream, or crunchy toppings—ensures you can tailor the cake to match anyone’s preferences. For a chocolate lover, there’s no better gift than a homemade, heartfelt chocolate birthday cake.
Ingredients for the Perfect Happy Birthday Chocolate Cake
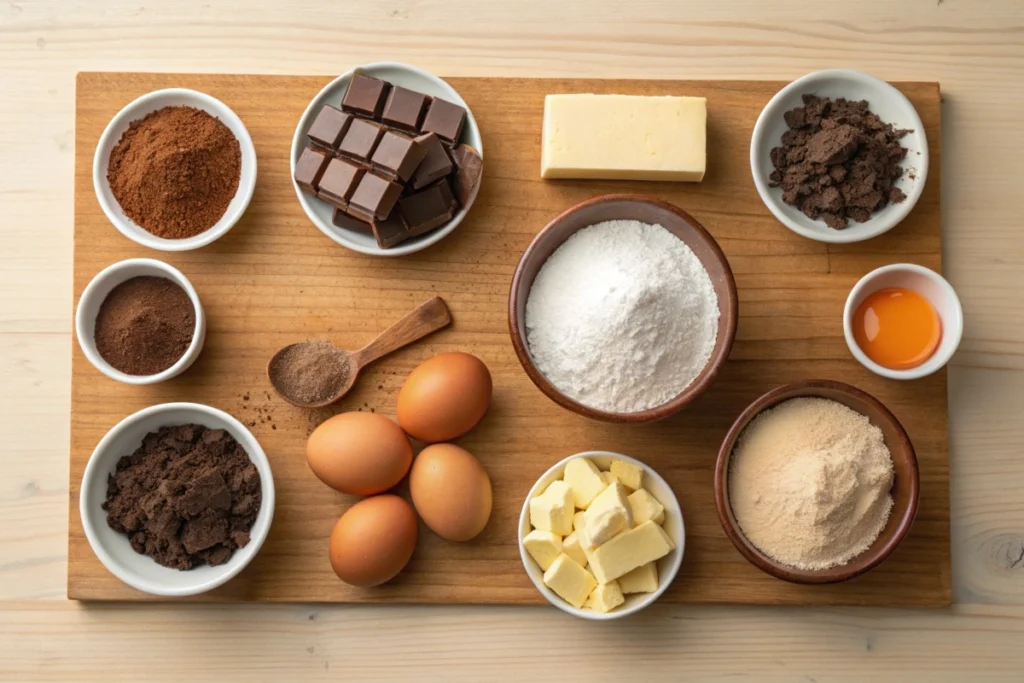
Creating the perfect cake starts with choosing the right ingredients. Here’s a comprehensive list to guide you:
| Ingredient | Amount | Notes |
|---|---|---|
| Unsweetened cocoa powder | ¾ cup | Use natural or Dutch-processed for a deeper flavor. |
| All-purpose flour | 2 cups | Sifted to avoid lumps in the batter. |
| Sugar | 2 cups | Granulated sugar works best. |
| Baking soda | 2 tsp | Ensures the cake rises perfectly. |
| Baking powder | 1 tsp | Adds lightness and fluffiness. |
| Salt | 1 tsp | Balances the sweetness. |
| Eggs | 2 large | Room temperature for a smooth batter. |
| Buttermilk | 1 cup | Creates a tender crumb and enhances flavor. |
| Vegetable oil | ½ cup | Keeps the cake moist and soft. |
| Vanilla extract | 2 tsp | Adds depth to the chocolate flavor. |
| Hot coffee | 1 cup | Intensifies the cocoa taste. |
Why These Ingredients Work
- Unsweetened cocoa powder delivers the rich chocolate flavor essential for this cake. Opt for high-quality cocoa for the best results.
- Buttermilk and oil create a moist, tender texture that stays fresh longer than butter-based cakes.
- Hot coffee enhances the chocolate flavor while adding complexity to the taste. Even if you’re not a coffee drinker, it blends seamlessly with cocoa without being overpowering.
Step-by-Step Chocolate Birthday Cake Recipe Instructions
Step 1: Preparing the Batter
Start by preheating your oven to 350°F (175°C). Grease two 9-inch round cake pans with butter or cooking spray, and line the bottoms with parchment paper. This ensures the cakes release easily after baking.
In a large mixing bowl, whisk together the dry ingredients: flour, sugar, cocoa powder, baking soda, baking powder, and salt. This step guarantees that all the dry components are evenly distributed, preventing lumps in the batter.
In a separate bowl, combine the wet ingredients: eggs, buttermilk, vegetable oil, and vanilla extract. Gradually pour the wet mixture into the dry ingredients, stirring until just combined. Avoid overmixing, as it can make the cake dense. Finally, stir in the hot coffee. The batter will be thin, but that’s exactly what makes the cake so moist.
Pro Tip: If you don’t have buttermilk, you can make your own by adding 1 tablespoon of lemon juice or vinegar to 1 cup of milk. Let it sit for 5 minutes before using.
Step 2: Baking the Layers
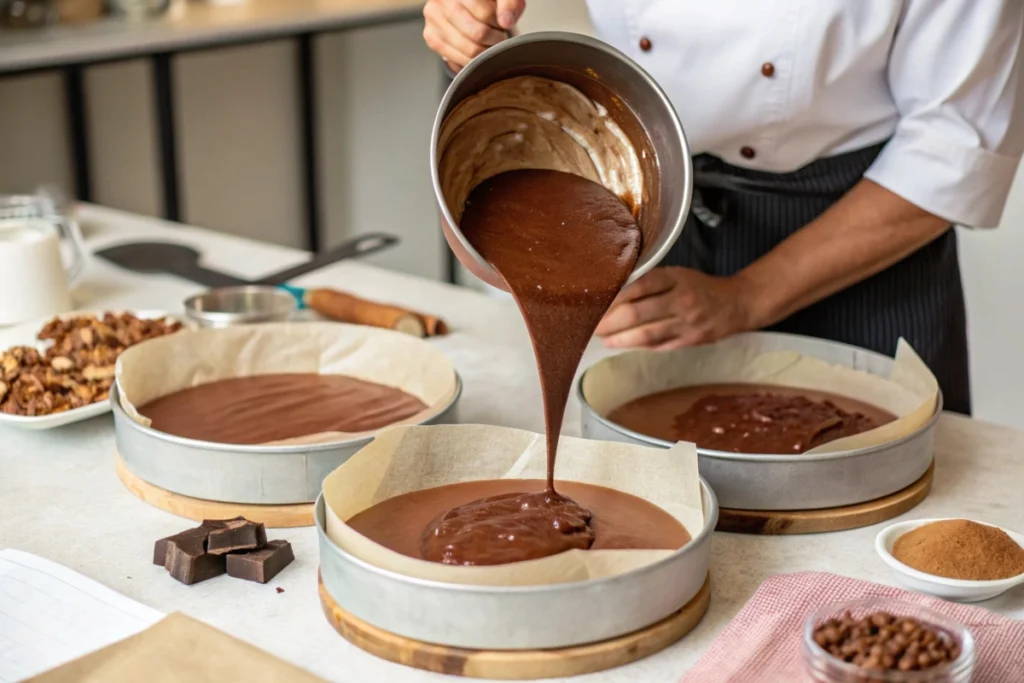
Divide the batter evenly between the two prepared pans. Gently tap the pans on the counter to release any air bubbles. Bake for 30-35 minutes, or until a toothpick inserted into the center comes out clean.
Once baked, allow the cakes to cool in their pans for 10 minutes. Then, carefully turn them out onto a wire rack to cool completely. Cooling is crucial for achieving a clean, smooth frosting later.
For additional inspiration, explore our Hershey Chocolate Chip Cookie Recipe, which pairs perfectly with chocolate cakes for a sweet birthday spread.
Secrets to Achieving Moist and Tender Chocolate Cake Layers
The hallmark of a perfect chocolate cake is its moist, tender crumb. Here are some insider tips to ensure your cake turns out flawless:
- Measure Ingredients Accurately: Baking is a science, and even small deviations can affect the texture. Use a kitchen scale for precise measurements.
- Don’t Overmix the Batter: Mixing too much develops gluten, leading to a dense cake. Stir just until the ingredients are combined.
- Use High-Quality Cocoa Powder: The type of cocoa you use has a significant impact on flavor. Dutch-processed cocoa offers a smoother, less acidic taste.
- Incorporate Buttermilk: This ingredient not only adds moisture but also reacts with the baking soda to create a tender crumb.
- Watch the Baking Time: Overbaking dries out the cake. Start checking for doneness a few minutes before the suggested bake time.
Making the Silky Chocolate Buttercream Frosting
A great cake deserves an equally fantastic frosting. This chocolate buttercream is the perfect companion to the rich layers of cake. It’s smooth, creamy, and irresistibly chocolatey.
Ingredients for Buttercream Frosting
| Ingredient | Amount | Notes |
|---|---|---|
| Unsalted butter | 1 cup (2 sticks) | Room temperature for easy mixing. |
| Powdered sugar | 4 cups | Sifted to avoid lumps. |
| Unsweetened cocoa powder | ¾ cup | Adds deep chocolate flavor. |
| Heavy cream | 4-5 tbsp | Adjust for desired consistency. |
| Vanilla extract | 1 tsp | Balances the sweetness. |
Step-by-Step Instructions
- In a stand mixer, beat the butter on medium speed until creamy and pale, about 2-3 minutes.
- Add the powdered sugar and cocoa powder, one cup at a time, mixing on low speed to prevent a cloud of sugar.
- Slowly drizzle in the heavy cream, one tablespoon at a time, until the frosting reaches your desired consistency.
- Finally, stir in the vanilla extract and mix for an additional minute to incorporate air for a light, fluffy texture.
This buttercream is not only ideal for frosting but also perfect for piping decorative elements like rosettes or borders.
For more creative chocolate cake ideas, check out our Triple Chocolate Cake: The Ultimate Decadent Dessert, which takes chocolate indulgence to a whole new level.
How to Frost and Decorate Your Birthday Cake Like a Pro
The frosting and decoration are where your cake truly comes to life, transforming it from a delicious dessert into a visual masterpiece. With a few simple techniques, you can achieve bakery-quality results that make your happy birthday chocolate cake the centerpiece of any celebration.
Step 1: Preparing the Cake Layers for Frosting
Before frosting, ensure your cake layers are completely cooled. If the tops are uneven, trim them with a serrated knife to create flat, level surfaces. This step ensures that the layers stack neatly and prevents the cake from leaning or wobbling. Place the first layer on a cake stand or serving plate, securing it with a small dab of frosting to prevent movement.
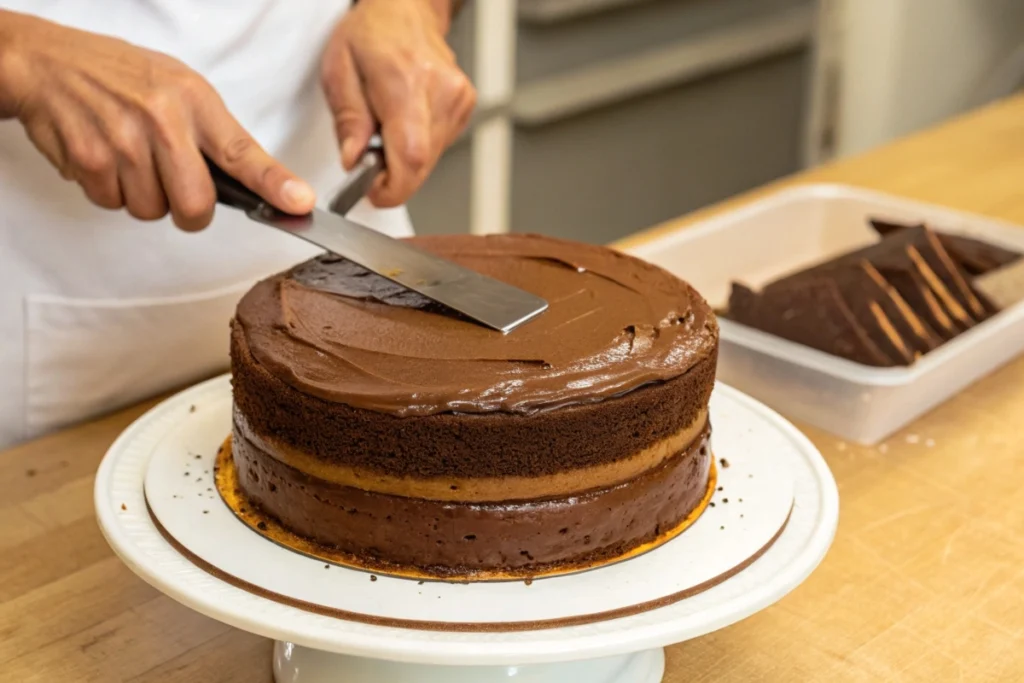
Spread a generous amount of chocolate buttercream over the first layer using an offset spatula. Smooth the frosting evenly, ensuring it reaches the edges. Place the second layer on top and repeat. For best results, apply a crumb coat—a thin layer of frosting that traps loose crumbs—and refrigerate the cake for 20–30 minutes to set.
Step 2: Applying the Final Frosting
After the crumb coat has set, apply the final layer of frosting. Start by spreading a thick layer on the top and work your way down the sides. Use a bench scraper to smooth the frosting for a polished, professional finish. For textured designs, use the back of a spoon or a frosting comb.
Step 3: Creative Decorating Ideas
Decorating your cake is the fun part, and there are endless possibilities to match any theme or personality.
- For Kids: Add colorful sprinkles, edible glitter, or themed toppers featuring favorite characters like superheroes or princesses.
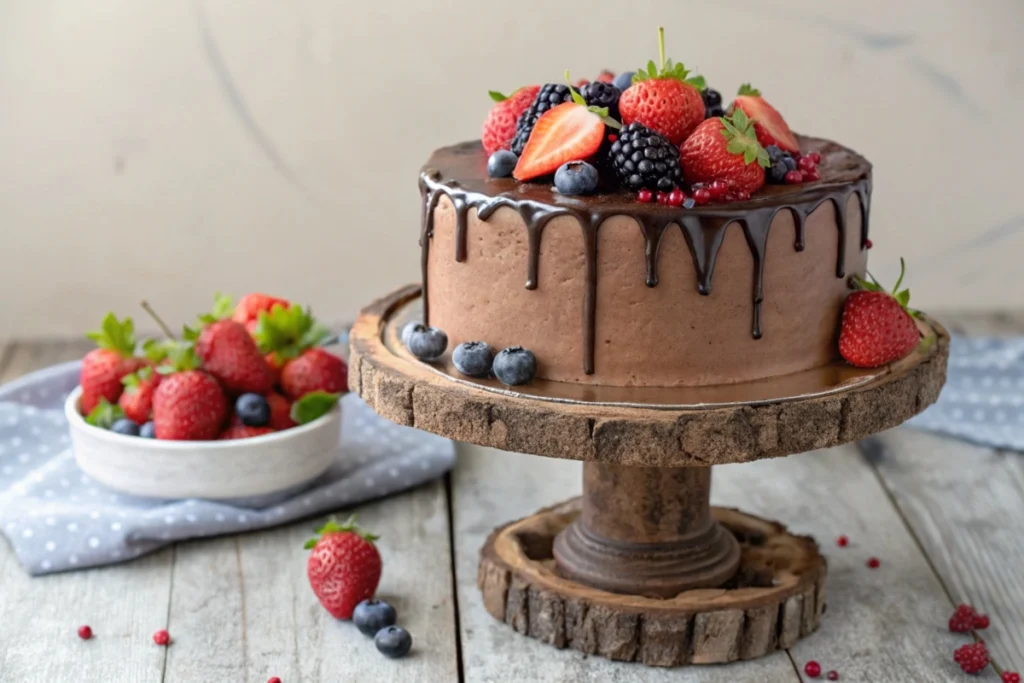
- For Adults: Opt for a minimalist look with fresh berries, chocolate curls, or a drizzle of ganache for added elegance.
- Personalization: Use a piping bag fitted with a round or star tip to write “Happy Birthday” or create decorative patterns.
For more inspiration, explore our guide on Easy Homemade Halloween Chocolate Cake Recipe, which features creative techniques to elevate your cake designs.
Pro Tips & Variations for Your Happy Birthday Chocolate Cake
Even the simplest recipes can be elevated with a few expert tips and creative twists. Here’s how you can make your chocolate cake unforgettable.
Pro Tips for a Show-Stopping Cake
- Use Room-Temperature Ingredients: Ingredients like butter, eggs, and buttermilk mix more evenly when at room temperature, resulting in a smoother batter and even baking.
- Refrigerate Between Steps: Chilling the cake after applying the crumb coat makes it easier to frost and reduces the risk of crumbs mixing with the final layer.
- Achieve Clean Slices: Use a hot, sharp knife to cut slices. Wipe the blade clean between cuts for a professional presentation.
- Transport Safely: If taking your cake to another location, use a sturdy cake carrier. Secure the cake base with non-slip material to prevent shifting during travel.
Delicious Variations to Try
- Ganache Drip Cake: Add a decadent touch by drizzling chocolate ganache around the edges. To make ganache, heat ½ cup of heavy cream and pour it over 1 cup of chopped dark chocolate. Let it cool slightly before applying.
- Nutty Indulgence: Sprinkle crushed nuts like hazelnuts or almonds between the layers or on top for added crunch.
- Flavorful Fillings: Incorporate fillings like salted caramel, raspberry jam, or cream cheese frosting between the layers for a burst of flavor.
- Dietary Modifications: For a vegan version, substitute eggs with flaxseed meal and water, and use almond milk in place of buttermilk.
How Sour Cream Elevates a Happy Birthday Chocolate Cake
Sour cream might seem like an unusual ingredient for a cake, but it’s a secret weapon in creating a moist chocolate cake with unparalleled flavor and texture. Its slight tanginess balances the sweetness of the chocolate, making the flavors more vibrant. Moreover, the fat content in sour cream contributes to a tender crumb, ensuring the cake stays soft and moist for days.
Why Use Sour Cream in Cake Batter?
Sour cream isn’t just for flavor; it also helps stabilize the cake batter, making it easier to work with and reducing the risk of overmixing. When combined with ingredients like unsweetened natural cocoa powder and cake flour, sour cream ensures a dense but soft texture, giving the cake a professional finish.
Another reason sour cream works wonders is its acidity. When paired with leavening agents like baking soda, it reacts to produce air bubbles, making the cake lighter while still maintaining its rich, chocolatey structure. For instance, if you’re baking for a special occasion like your husband’s birthday, sour cream guarantees a show-stopping cake every time.
Perfecting the Cake Batter: Tips for Success
The cake batter is the foundation of any great cake, and this recipe ensures that even beginners can achieve professional results. Start by whisking the dry ingredients, including cake flour, unsweetened natural cocoa powder, and sugar. These should be sifted together to prevent lumps. In a separate bowl, mix the wet ingredients: eggs, sour cream, vegetable oil, and vanilla extract.
Pour the Wet Ingredients Into the Dry Mixture
Slowly combine the wet ingredients with the dry mixture to ensure even distribution. The batter will be slightly thick at this stage, which is normal. Then, add the hot coffee gradually. This step is crucial as the coffee not only enhances the chocolate flavor but also loosens the batter, making it easier to pour into your 2 9-inch cake pans or three 8-inch pans.
Pro Tip: Use a stand mixer with a paddle attachment for smooth, lump-free batter. Start on low speed to avoid splatters and gradually increase to medium speed.
Chocolate Frosting: A Creamy Finish for Your Cake
No birthday cake is complete without chocolate frosting, and this recipe delivers a rich, creamy chocolate finish that’s perfect for decorating and eating. The frosting is made by combining melted chocolate, butter, powdered sugar, and a splash of vanilla. When whipped together, these ingredients create a frosting that’s both light and decadent.
Frosting the Cake: Step-by-Step
To frost the cake, start by applying a thin crumb coat to the sides of the cake and top. This seals in any loose crumbs and provides a smooth base for the final frosting layer. Refrigerate the cake for about 20 minutes to set the crumb coat. Once ready, spread a generous layer of frosting over the top and sides of the cake, using an offset spatula for precision.
For an elegant touch, you can add decorations like sprinkles, piped designs, or a drizzle of melted chocolate. If you’re preparing the cake in advance, cover it with plastic wrap and place the cake in the fridge to keep it fresh.
Tips for Baking Layers of Moist Chocolate Cake
Achieving layers of moist cake requires attention to detail during baking. Begin by preparing your pans—line with parchment and grease the parchment to ensure the cakes release easily. When dividing the batter, try to make the layers as even as possible for a consistent bake. Bake for 22–25 minutes, or until a toothpick inserted in the center comes out clean.
Cooling and Storing
After removing the cakes from the oven, let them cool in the pans for 10 minutes. Then, transfer them to a wire rack to cool completely. Cakes that are too warm will melt the frosting, so it’s essential to bring to room temperature before assembling.
Once the cake is frosted, store it in the refrigerator if not serving immediately. Cover it with plastic wrap or a cake dome to prevent it from drying out.
Why This is the Best Cake I’ve Ever Made
This recipe is not just another chocolate cake—it’s the cake I’ve made for every special occasion, from birthdays to anniversaries. Its moist cake layers and rich chocolate frosting make it a favorite for friends and family. When I baked this for my husband’s birthday, he declared it the best dessert he’d ever tasted.
What sets this recipe apart is its simplicity. It’s super easy to make, yet the results are stunning. Even beginners can achieve a professional look with minimal effort, making this a favorite recipe for anyone who loves baking.
Serving and Final Touches: A Way to Celebrate
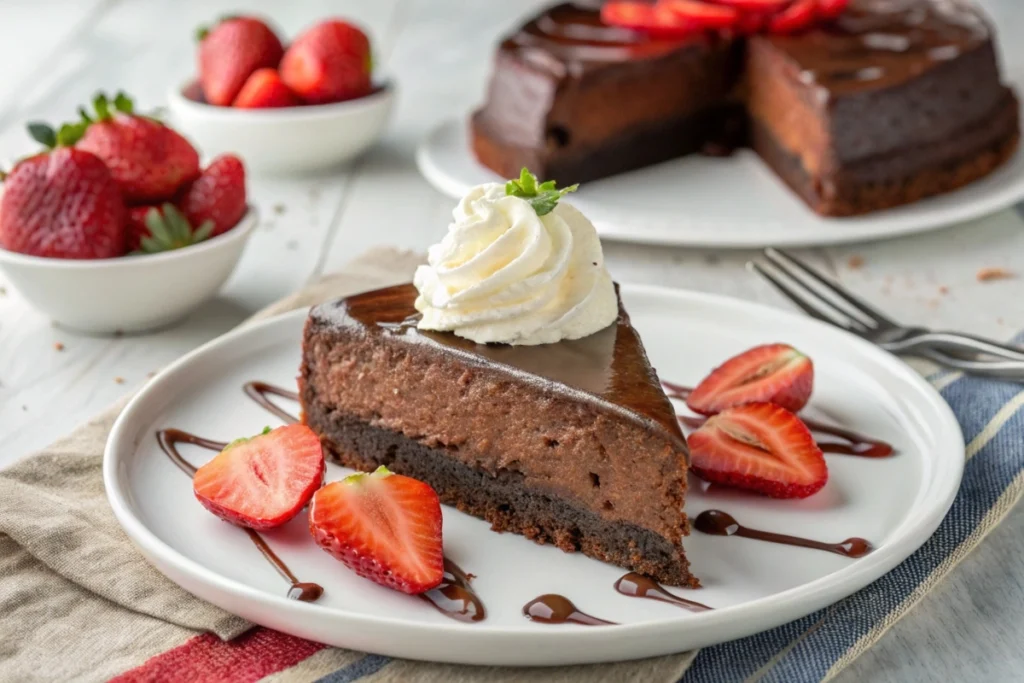
Serving your cake is as important as baking it. Use a sharp knife to create clean slices, and garnish each piece with a dollop of whipped cream or a drizzle of ganache for added flair. This food cake is versatile—it’s perfect on its own or paired with fresh fruit.
Finally, the key to an unforgettable cake is presentation. Whether it’s a cake topped with sprinkles, draped in ganache, or simply frosted to perfection, this recipe is truly a way to celebrate life’s sweetest moments.
FAQs: Your Chocolate Cake Questions Answered
Chocolate Birthday Cake Recipe
Q: What makes this the best chocolate cake recipe?
This recipe is a blend of simplicity and rich flavor, designed for maximum impact. It uses buttermilk and hot coffee to create a moist, tender crumb while enhancing the chocolate taste, ensuring it stands out at any celebration.
Q: How do you make a moist chocolate birthday cake?
The secret lies in the combination of buttermilk, vegetable oil, and hot coffee. These ingredients lock in moisture, prevent dryness, and deliver a soft, luxurious texture.
Happy Birthday Chocolate Cake Ideas
Q: Can I customize this cake for kids’ parties?
Yes! Use fun decorations like themed toppers, edible glitter, or colored frosting to match the party’s theme. You could even shape the cake into unique designs like animals or favorite characters.
Q: What are some fun decoration ideas for adults?
For adults, consider a minimalist approach with a smooth buttercream finish and accents like fresh flowers, gold leaf, or dark chocolate shavings.
Chocolate Birthday Cake for Boys or Girls
Q: How can I make this cake special for boys?
Choose decorations that align with their favorite themes, such as superheroes, sports, or dinosaurs. For example, you could use green frosting and chocolate crumbs to create a jungle effect.
Q: How about for girls?
For girls, pastel buttercream, edible flowers, and glittery sprinkles work beautifully. A unicorn or fairy theme can also be brought to life with fondant toppers.
Happy Birthday Chocolate Cake Images
Q: Can I incorporate edible images?
Yes! You can use edible images printed on frosting sheets. They’re easy to apply and can feature anything from photographs to custom designs.
Chocolate Cake Recipe FAQs
Q: Can I turn this recipe into cupcakes?
Absolutely! Divide the batter into cupcake liners and bake for 18–22 minutes. Decorate each cupcake individually to match your theme.
Q: What’s the best way to store leftovers?
Store your cake in an airtight container in the refrigerator for up to five days. Allow it to come to room temperature before serving for the best taste and texture.
Conclusion
A happy birthday chocolate cake isn’t just a dessert; it’s a gift of love, effort, and joy. This recipe, with its rich flavors, moist texture, and customizable decorations, is perfect for creating unforgettable celebrations. Whether you’re baking for a child, a friend, or yourself, this cake promises to make the occasion extra special. So gather your ingredients, let your creativity shine, and start baking your way to birthday perfection!
